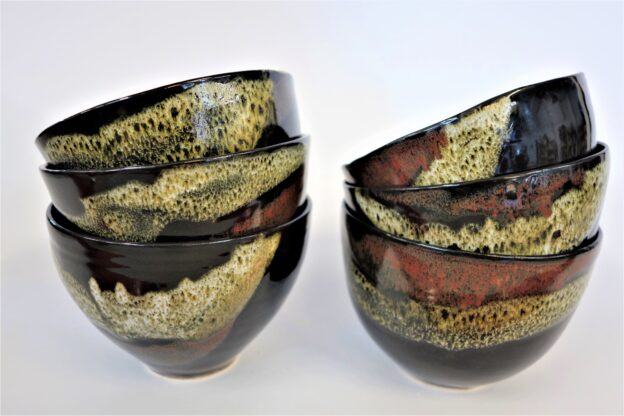
One of my former clients has fallen for this bowl, and wants to choose a few of them, to be given as a gift. I fired a number of them this morning, this time in a slow downfire kiln, which might make the meld between the various overlaid glazes even more interesting. I don’t think there is much risk. They should turn out as good as this one, or, hopefully, even better.
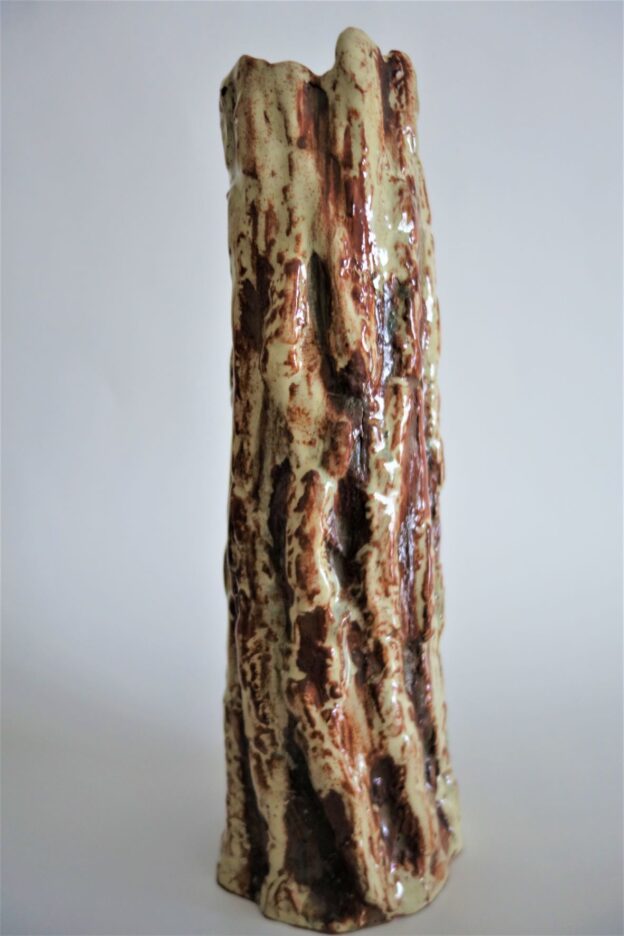
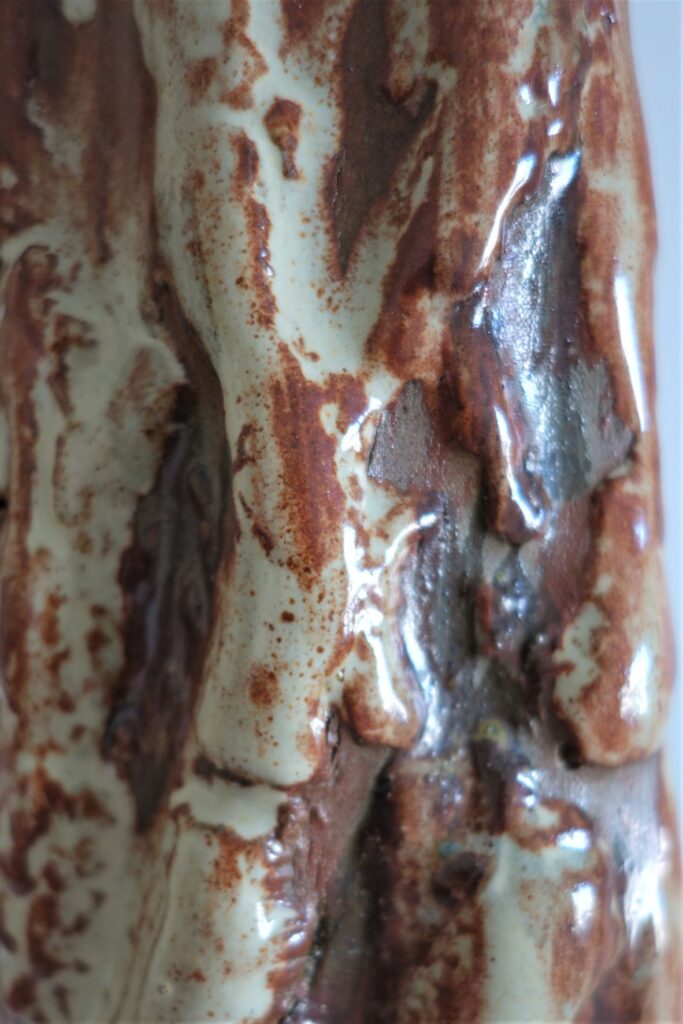
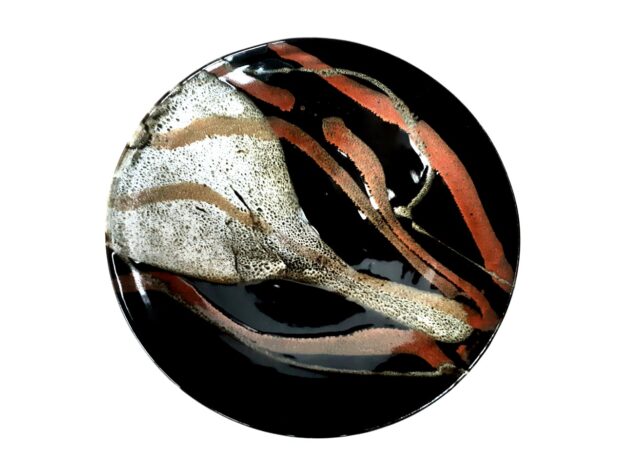
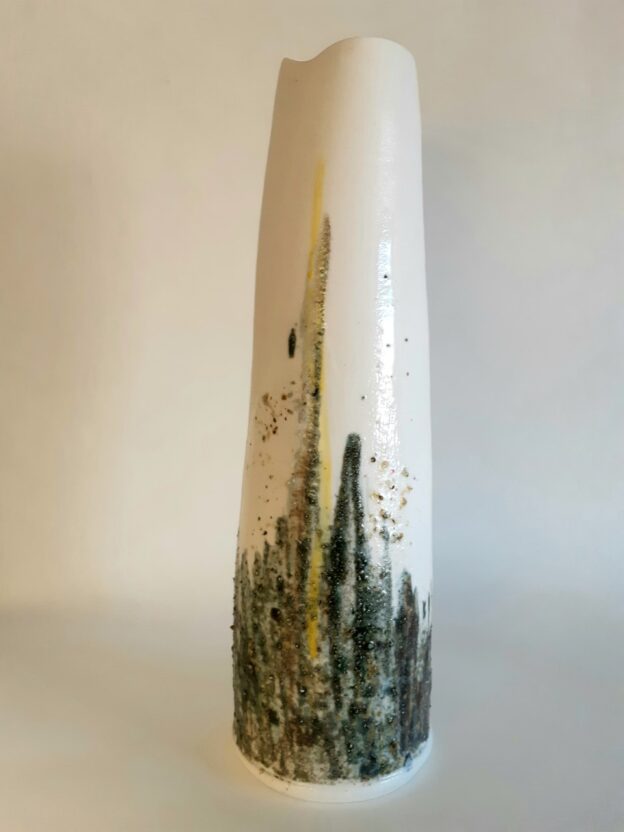
Here, the satin white glaze, squirted with a slip trailer in a thick stream, breaks nicely over the black; and where the squirt lands on two layers of glaze, the iron red (using 18% red iron oxide) over the black, the white turns to a broken light fawn.
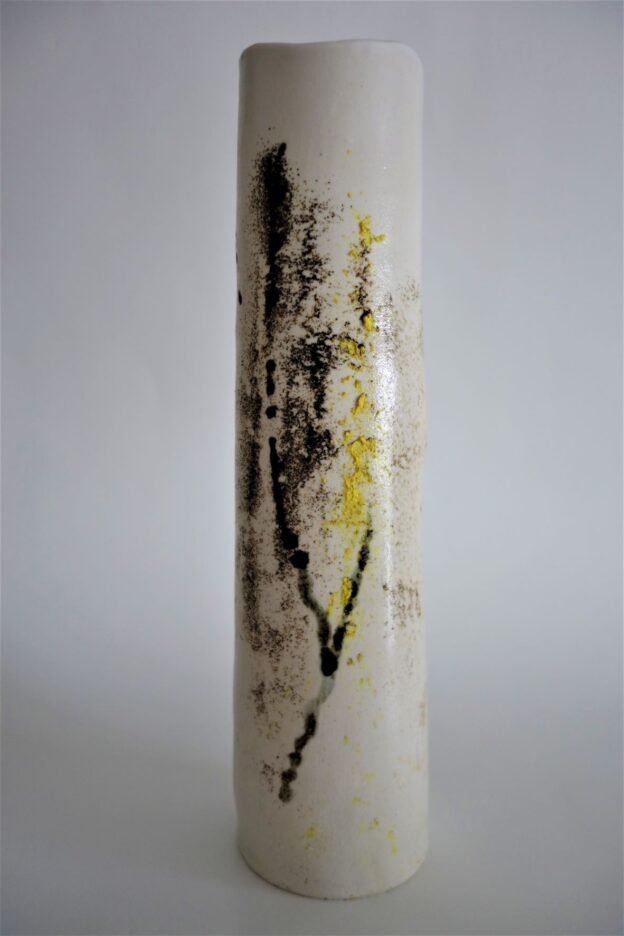
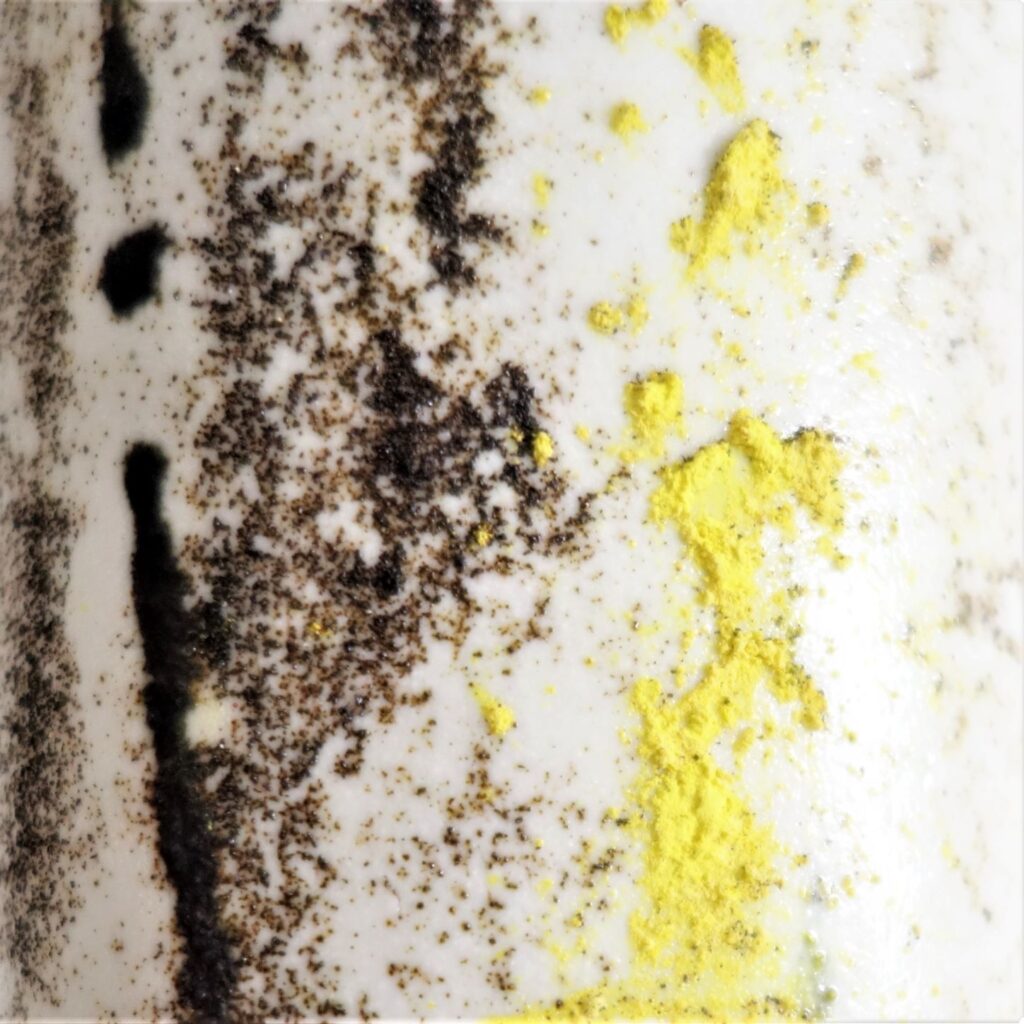
With the various lockdowns of the pandemic, it has taken me a while to re-find the smooth gestures that came so naturally before. How far do I hold the slip trailer from the surface to be glazed? How quick do I make the sweep? I also struggled to find the design I wanted, with the smaller touch of colour near the rim on the inside, reflecting the curves of colour on the outside. But I’ve been in the studio, Clayworks, for sometime now, and am finding my way again…
White stoneware, fired to cone 6, in oxidation. Dia: 13 cm; ht: 8 cm